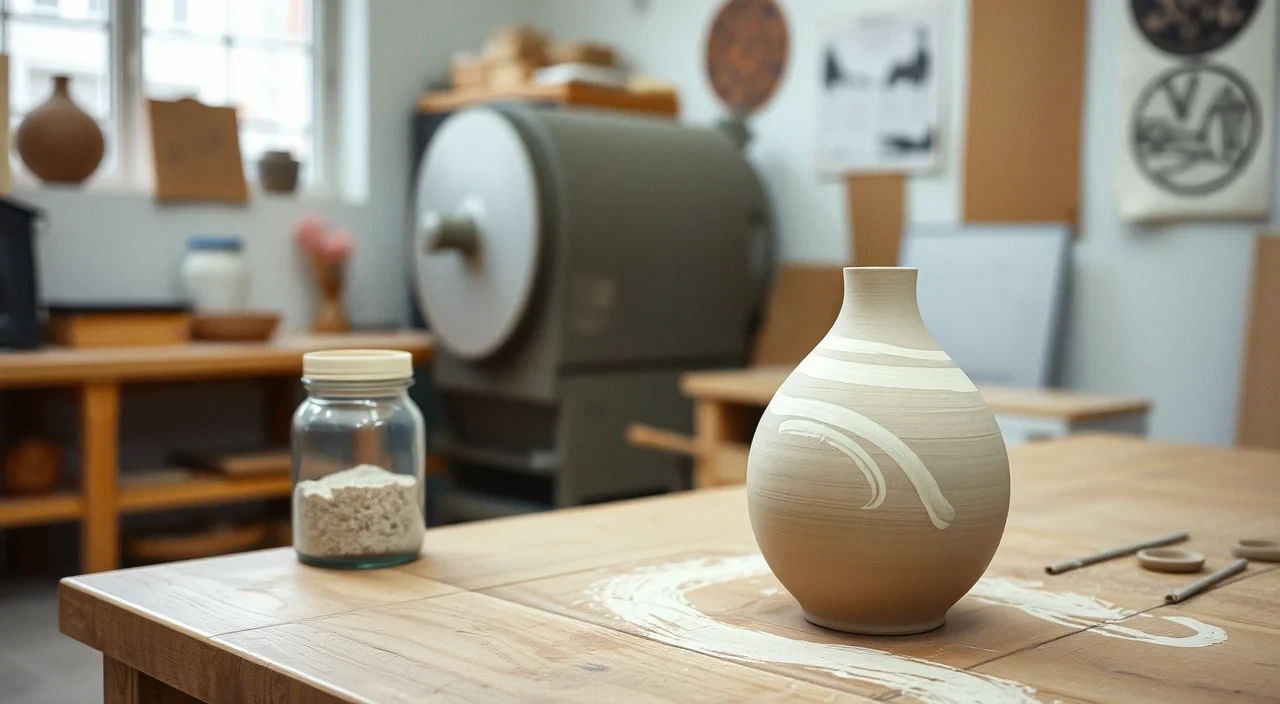
Slip’s role in pottery is to act as a liquid clay that can be brushed, poured, or trailed onto a piece, creating raised or contrasting surfaces while bonding seamlessly with the body. Proper consistency and timing let artists add texture without cracks, tool clogging, or sharp edges.
Table of Contents
Key takeaways
- Slip is a thinned clay that bonds during firing
- Apply slip on wet or leather-hard clay, never on bone-dry pieces
- Keep raised slip under 3/8 inch and dry slowly
- Strain slip to avoid nozzle clogging
What is the slip role in pottery?
Slip serves as a thinned clay suspension that adheres to the underlying body, providing a medium for decorative lines, dots, or layers. Because it shares the same mineral composition, it fuses during firing, turning texture into a permanent part of the vessel.
At Kaolin Ceramics Studio we start each workshop by mixing slip from the same stoneware body we throw on the wheel. The mixture is sieved through a 80-mesh screen to remove lumps, then thinned with water until it flows like heavy cream. This consistency ensures the slip bonds evenly and dries without pulling away from the base.
When the slip is brushed, poured, or trailed, it creates a surface that behaves like the underlying clay during drying and firing. The key advantage over glaze is that slip adds texture in the green stage, allowing the artist to sculpt or carve the raised design before the piece becomes rigid.
Common mistakes include using a slip that is too thick, which can cause sagging, or one that is too thin, which may not hold a raised line. Testing a small swatch on a spare tile before decorating the main piece saves time and material.
How can slip be used to add texture without cracking?
To add texture safely, apply slip when the vessel is still plastic—either wet or at leather-hard stage—and keep the layer under 3/8 inch. Dry slowly under a loose cover, and smooth sharp ridges before the piece fully dries.
Cracking occurs when thick slip dries faster than the surrounding clay, creating tensile stress. By limiting thickness and allowing gradual moisture loss, the stresses remain within the material’s elasticity. At Kaolin we cover newly slipped pieces with a damp canvas, letting them dry over 12-24 hours depending on ambient humidity.
If a crack does appear, it can often be repaired by lightly misting the area, re-applying a thin slip coat, and re-covering. For raised dots or drips, use a soft fingertip or a damp sponge to round the edges while the slip is still leather-hard; this prevents sharp points that can chip during firing.
Using additives such as fine grog or sand can increase texture, but large particles may block syringes. In our private glaze sessions we demonstrate how to blend a small amount of fine sand (no larger than 0.2 mm) into the slip for subtle grain without compromising nozzle flow.
When should slip be applied: wet or leather-hard clay?
Slip can be applied to both wet and leather-hard clay, but leather-hard gives more control for trimming and prevents the slip from sagging. Wet surfaces allow brushing large areas quickly, while leather-hard is ideal for precise trailing or sgraffito.
On a wet body the slip behaves like a glaze, spreading with gravity. This is useful for background washes or marbling effects. However, the slip may run off thin walls, especially on tall forms. Leather-hard clay, being firmer, holds the slip in place, making it easier to carve lines or add raised dots without distortion.
In our six-week beginner course we first practice applying a thin brush-on slip to a leather-hard cylinder, then advance to trailing with a pastry bag. Students discover that trimming excess slip is simpler when the clay still holds its shape, reducing the need for extensive rework.
If the piece is too dry, the slip will not adhere and will crack as it dries. Always perform a “finger test”: the surface should feel cool and slightly tacky before applying slip. A quick mist can revive a piece that has begun to dry too fast.
What slip techniques work best for beginners at Kaolin Ceramics Studio?
For beginners at Kaolin Ceramics Studio, the safest slip technique is brushing a thin, sieved slip onto leather-hard pots, followed by a simple trailing exercise using a pastry bag. The studio’s weekly kiln firing ensures the texture dries evenly and fires without surprise.
Step-by-step guide:
- Prepare slip by mixing equal parts stoneware body and water, then strain through a fine mesh.
- Bring the pot to leather-hard stage (firm but still compressible).
- Use a soft brush to apply an even coat; watch for runs and wipe them immediately.
- Load a pastry bag with the same slip, pipe simple lines or dots, keeping the nozzle no smaller than 2 mm to avoid clogging.
- Before the slip fully dries, smooth any sharp edges with a damp sponge.
- Cover the piece with a damp canvas for a slow, even dry.
- Schedule the piece for the next kiln firing (once a week at Kaolin) to lock in the texture.
Why this works: the thin brush coat creates a uniform base that adheres well, while the pastry-bag trailing adds controlled raised detail without overwhelming the clay body. The studio’s open-hour policy lets learners return to check on drying progress and ask staff for quick adjustments.
Always strain your slip through a fine mesh before using a syringe or pastry bag; this prevents particles from clogging the nozzle and results in smoother, more consistent lines.
Frequently asked questions
Can I make slip from reclaimed clay?
Yes. Reclaimed clay can be re-hydrated, sieved, and mixed with fresh water to the desired consistency. Ensure the reclaimed material is free of contaminants and test a small swatch before applying it to a finished piece.
Why does my slip crack when it dries?
Cracks form when the slip layer is too thick or dries faster than the underlying clay, creating tensile stress. Keep the slip under 3/8 inch, cover it loosely, and smooth sharp edges while the slip is still leather-hard.
How thick should slip be for slip trailing?
Aim for a thickness that flows but holds shape—roughly the consistency of heavy cream. In practice this translates to a layer no thicker than 3/8 inch once applied, allowing the trailing lines to stay raised without sagging.