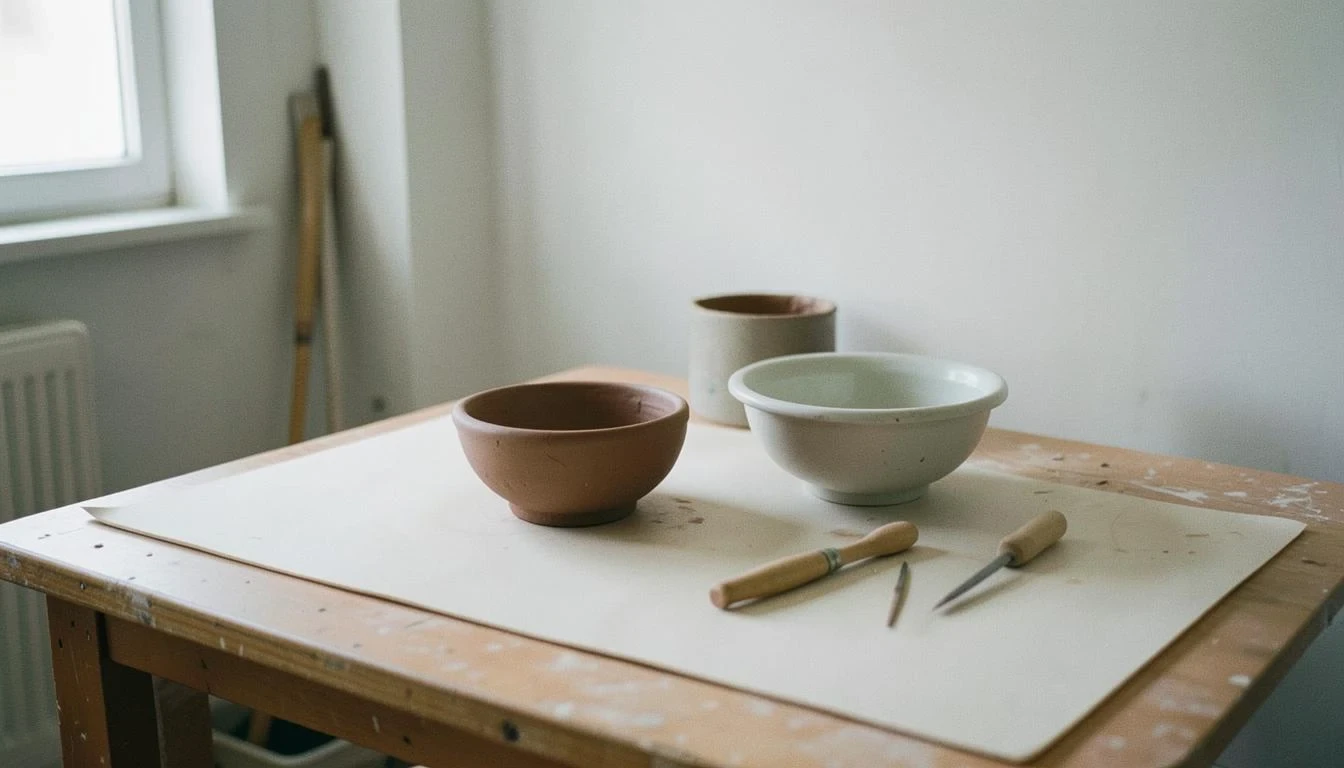
Hand-building techniques are foundational methods for shaping clay without a potter's wheel, ideal for beginners. In Portuguese ceramics, three core techniques prevail: pinch, coil, and slab building. Each method offers a different path to creating functional and decorative pieces, from simple bowls to complex sculptural forms.
Table of Contents
Key takeaways
- Pinch, coil, and slab are the three primary hand-building methods.
- Portuguese stoneware and red clays are common, forgiving choices.
- Proper clay preparation and joining are critical for structural integrity.
- A local studio workshop provides guided practice and essential tools.
What are the main hand-building techniques?
The three primary hand-building techniques are pinch pots, coil building, and slab construction. Each starts with a prepared ball of clay and uses simple hand tools to form distinct structures, from rounded vessels to angular boxes.
Pinch pottery begins with a single ball of clay. A thumb is pressed into the center, and the walls are pinched and rotated between fingers and thumb to thin and raise them. This creates simple bowls or cups. The key is maintaining even pressure to avoid weak spots or cracking as the clay dries.
Coil building involves rolling clay into long, snake-like coils. These coils are stacked and welded together to build up vessel walls. Success depends on scoring and slipping the coil ends to create a strong bond. Coils can be smoothed completely for a seamless look or left visible for textured, traditional effects common in Portuguese folk pottery.
Slab construction uses sheets of clay rolled to an even thickness. These slabs are cut into shapes and joined at scored and slipped edges to create geometric forms like boxes, tiles, or platters. Supporting structures, or armatures, made from foam or wood, are often needed inside while the piece dries to prevent slumping.
For beginners, a simple pinch pot is the fastest project, taking one to two hours from start to leather-hard stage. A small coil-built vase or slab-built trinket box requires more time, typically two to three sessions over a few days to account for drying and joining steps.
The total time from forming to a finished, fired piece spans one to three weeks. The initial shaping is just the first phase. The clay must then dry slowly and completely over several days to prevent cracking. After the first firing, called the bisque fire, glaze is applied, requiring another full firing cycle.
Rushing the drying process is the most common mistake. Clay shrinks as water evaporates; if the outside dries faster than the inside, tension builds and causes cracks. Pieces should be covered loosely with plastic and dried away from direct heat or drafts. The complexity of the form and the studio's firing schedule are the main factors extending the timeline.
What clay and tools do I need to start?
A beginner needs a few basic tools and a forgiving clay. In Portugal, widely available stoneware or earthenware clays are excellent starting points, known for their workability and rich firing colors.
Essential tools are minimal and often provided in a local studio setting. The core toolkit includes:
- A rolling pin or slab roller for creating even sheets.
- A wire cutter for slicing clay from the block.
- A rib (wooden or metal) for smoothing surfaces.
- A needle tool for scoring and detailing.
- A sponge and water for joining and finishing.
- Modeling sticks for refining shapes.
Choosing clay involves considering its plasticity (how well it holds shape) and firing temperature. For hand-building, a clay body with some grog (pre-fired ground clay) is beneficial as it reduces shrinkage and adds strength. In Porto, clays sourced from the north often have a distinct character suitable for traditional forms. Beginners should avoid very fine porcelain clays, as they can be less forgiving during the drying stage.
Always 'score and slip' when joining two pieces of clay. Scoring means making shallow cross-hatch cuts on both surfaces. Slip is a slurry of clay and water. Applying slip to the scored areas creates a strong, adhesive bond that prevents pieces from separating as they dry and shrink.
How do I learn hand-building in Porto?
The most effective way to learn is through a guided workshop. A ceramics studio provides structured projects, all necessary tools and materials, and expert guidance on technique and problem-solving specific to the local clay.
A typical beginner workshop focuses on one core technique per session. An instructor demonstrates the process step-by-step, from wedging the clay to preparing the piece for drying. Immediate feedback helps correct grip, pressure, and joining methods. This hands-on guidance is invaluable for overcoming the initial awkwardness of handling clay.
Workshops also handle the technical aspects beginners cannot replicate at home, namely the kiln firing. Studios manage the complete firing cycle, explaining the stages of bisque and glaze firing. For someone in Porto looking for 'hand-building techniques near me,' joining a local studio like Kaolin Ceramics Studio offers a direct path from learning the basics to creating a finished, fired piece of Portuguese ceramics.
Frequently asked questions
Can I do hand-building at home without a kiln?
Yes, the forming process can be done at home with basic tools. However, firing requires a kiln reaching high temperatures. Many artists create pieces at home and then use a local studio's kiln-firing services for a fee.
What is the most common mistake beginners make?
Joining clay that is too wet or too dry. Pieces must be at a similar stage of dryness, ideally leather-hard, for scoring and slipping to work. Joining wet clay to drier clay causes cracking as they shrink at different rates.
Is Portuguese clay different from other clays?
Portuguese clays, particularly the red earthenware from the north, are often rich in iron, giving a warm, terracotta color when fired. They are generally robust and well-suited to hand-building techniques used in traditional pottery.
How do I smooth the coils in coil building?
Use a rib tool or your finger dipped in water to gently blend the coil into the wall from the inside. Apply consistent pressure to avoid deforming the shape. The goal is to create a uniform wall thickness.
What's a good first project to try?
A small pinch pot or a simple, short cylinder built from coils. These projects teach fundamental skills of shaping and joining without the complexity of managing large slabs or intricate designs.