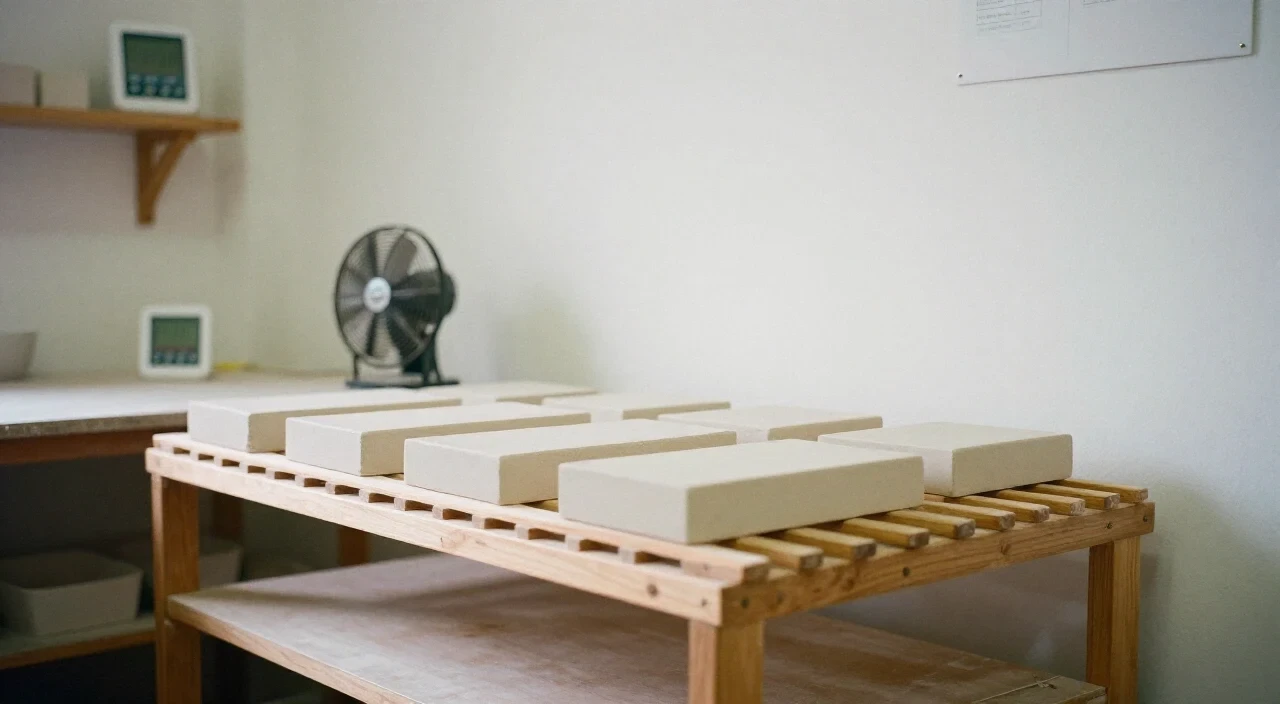
Excessive shrinkage is usually a mix of uneven drying, high-water-content clay, or firing conditions; to troubleshoot, check wall thickness, control humidity, test a sample bar at each stage, and consider adding grog or silica to lower the body’s natural shrinkage.
Table of Contents
- 01Why is my pottery clay shrinking more than the manufacturer says?
- 02How can I stop clay from shrinking and cracking while drying?
- 03Does thicker pottery shrink more than thinner pottery?
- 04What simple test can pinpoint whether the shrinkage is from drying or firing?
- 05Frequently asked questions
- 06Sources
- 07Read next
Key takeaways
- Measure wet-dry-fired shrinkage with a test bar
- Dry evenly; avoid drafts and direct heat
- Thicker walls need longer, slower drying
- Add grog or silica to lower total shrinkage
- Fire only bone-dry pieces
Why is my pottery clay shrinking more than the manufacturer says?
Manufacturers quote firing shrinkage only, assuming a perfectly dried piece; if a pot loses more than the stated 13-16 % total, the extra comes from uneven or rapid drying, excessive water in the body, or a clay formulation that naturally contracts more.
The first thing to verify is the stage at which the extra loss occurs. Clay shrinks twice: once as water evaporates during drying, and again when vitrification densifies the body in the kiln. Most stoneware bodies list about 13 % firing shrinkage, while porcelain can reach 14-16 %. If your measurements exceed these numbers, the drying phase is likely responsible.
Uneven drying is a common studio problem. Direct sunlight, drafts, or exposing rims and handles to air while the walls stay covered creates differential moisture loss, pulling the piece inward and cracking the surface. In Porto’s maritime climate, humidity can swing quickly, so monitoring indoor moisture and using a gentle, indirect heat source is essential.
Another factor is the water content of the clay body itself. Fine-particle, high-plasticity clays hold more water and therefore lose more volume. When wedging, the goal is to remove air pockets, not to compensate for an inherently high-shrinkage formulation. If the body consistently outperforms the spec, consider testing a blended batch with added grog or silica, which occupy volume that does not contract further.
Common mistake: comparing the size of a wet piece directly to the fired size and blaming the manufacturer. Always separate drying shrinkage from firing shrinkage by measuring a standard test bar at three stages: wet, bone-dry, and fired. This isolates the problem and guides the next corrective step.
How can I stop clay from shrinking and cracking while drying?
Control the drying environment, keep wall thickness uniform, and use a slow, even drying schedule; these steps prevent excess moisture loss that leads to shrinkage and cracking.
Start by covering the piece with a breathable cloth or plastic sheet to slow evaporation. A loosely draped sheet creates a micro-climate that balances humidity across the entire object. In a studio near the Douro River, ambient humidity can be high, so a light cover helps avoid rapid surface drying while the interior stays moist.
Uniform wall thickness is critical. Thick sections retain water longer and contract later than thin areas, generating internal stress. If a hand-built vase has a base twice as thick as the shoulder, plan for a drying period of at least two weeks, checking that the moisture content evens out before uncovering.
Rotate pieces regularly. Turning a pot every few hours distributes airflow and prevents one side from drying faster than the other. When multiple pieces share a shelf, leave sufficient space between them; drafts from a vent or open window should be avoided.
A simple checklist for safe drying:
- Cover with breathable material.
- Measure wall thickness; aim for variations under 5 mm.
- Allow at least 1 week per 1 cm of thickness in moderate humidity.
- Rotate or flip pieces daily.
- Verify bone-dry status by tapping; a dull sound indicates remaining moisture.
If cracks appear despite precautions, soak the affected area lightly, re-wedging can redistribute moisture, and then resume a slower drying schedule.
Does thicker pottery shrink more than thinner pottery?
Yes, thicker walls lose water more slowly, so they continue to shrink while thinner sections have already settled, creating differential shrinkage that can lead to warping or cracking.
During drying, water escapes from the surface inward. A wall that is 2 cm thick may need three weeks to reach bone-dry, whereas a 5 mm wall can be ready in a few days. The prolonged moisture loss in the thick area adds extra shrinkage beyond the body’s nominal rate.
When the piece enters the kiln, both thick and thin sections fire simultaneously, but the thick part still contains more bound water, which turns to steam and can cause micro-cracks if not fully bone-dry. This is why studios advise waiting until the entire piece feels uniformly dry before loading it.
Practical ways to manage thickness differences:
- Design with gradual transitions; avoid sudden jumps in wall thickness.
- Hollow out the interior of large hand-built vessels to reduce overall mass.
- Use a support armature for very thick sections while they dry, allowing air to circulate inside.
- Test a sample slab of the same thickness; measure its shrinkage to predict behavior.
If a piece has already been fired and shows distortion, a professional re-fire with a slower ramp may relieve some stress, but prevention through controlled thickness is far more reliable.
What simple test can pinpoint whether the shrinkage is from drying or firing?
Create a 10 cm test bar, measure it wet, after bone-dry, and after firing; the differences reveal how much each stage contributes to total shrinkage.
Cut a uniform slab from the same batch you use for your project. Mark a straight 10 cm line on the surface with a fine-pointed tool. Record the length while the bar is still wet; this is your baseline.
Allow the bar to dry slowly, covered as you would a finished piece. Once it feels bone-dry (no hollow sound when tapped), measure the line again. The reduction from wet to dry is the drying shrinkage. In a typical stoneware, expect around 5-7 % loss at this stage.
Fire the bar using the same schedule you plan for the final work. After cooling, measure the line a third time. The drop from dry to fired gives the firing shrinkage, usually matching the manufacturer’s figure of roughly 13 % for stoneware or 14-16 % for porcelain.
Subtract the drying loss from the total loss to see if your piece is shrinking excessively during drying. If the drying percentage is higher than normal, adjust your studio’s drying protocol. If the firing loss exceeds the spec, consider adding grog or switching to a lower-shrinkage body.
Document each measurement in a notebook; over time you’ll build a personal reference that aligns with the local climate of Porto and your specific kiln’s behavior.
Always test a sample bar at wet, bone-dry, and fired stages; this simple experiment isolates the source of excess shrinkage and saves hours of wasted work.
Frequently asked questions
Why does my clay crack after the first firing?
Cracking usually means the piece was not fully bone-dry before entering the kiln, so residual water turned to steam and created internal pressure.
Can I reduce shrinkage by adding water to the clay?
Adding water increases the amount that must evaporate, which actually raises drying shrinkage. Instead, add grog or silica to the body to occupy non-shrinkable volume.
Is there a clay body with almost no shrinkage?
Porous red clays shrink less than stoneware or porcelain, but they also fire at lower temperatures and have different aesthetic properties. Choose the body that matches your functional and visual goals.