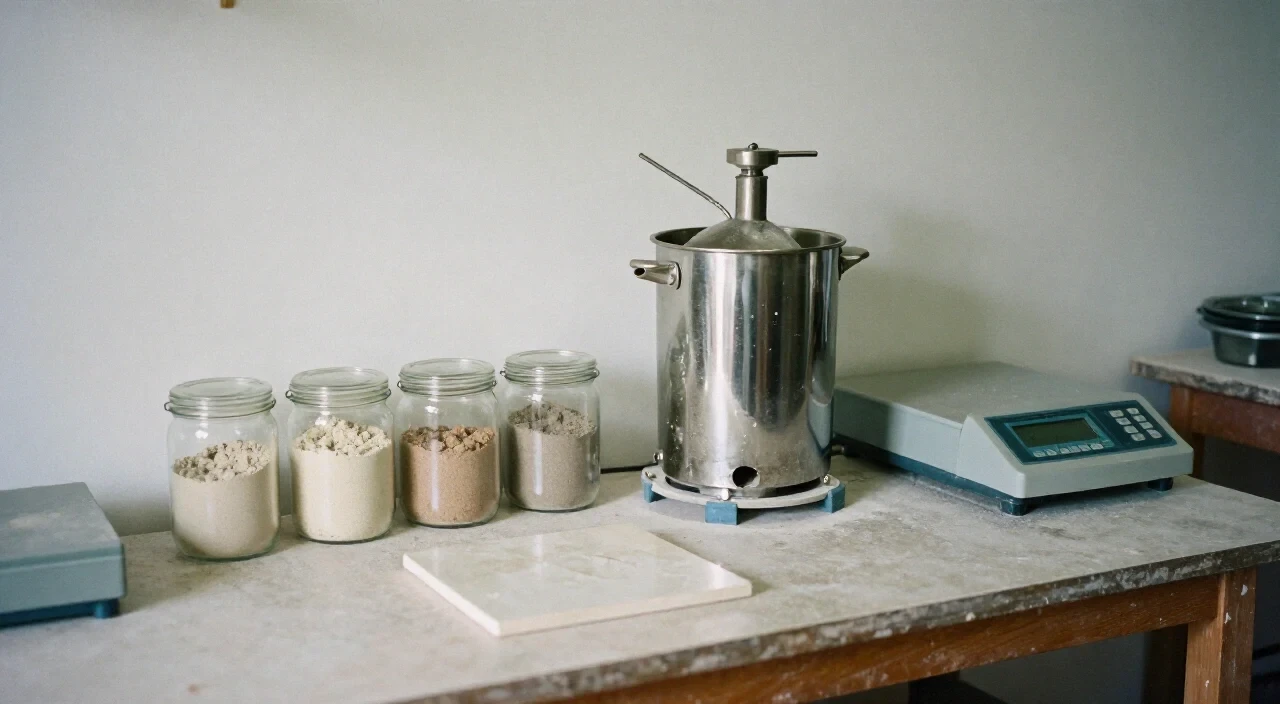
Creating custom glaze colors from locally sourced minerals involves collecting safe stone, grinding it to a fine powder, mixing with a flux, applying to bisque, and firing in a controlled kiln while complying with EU food-contact limits for lead and cadmium.
Table of Contents
- 01How can I create custom glaze colors from local minerals?
- 02What EU regulations affect homemade mineral glazes for food contact?
- 03Which local minerals near Porto produce blue, green, or brown glaze tones?
- 04How can I test a mineral glaze for lead and cadmium before using it on tableware?
- 05Frequently asked questions
- 06Sources
- 07Read next
Key takeaways
- Collect only known, non-hazardous minerals
- Grind to a fine, consistent powder before mixing
- Test every batch for lead and cadmium migration
- Use Kaolin's private glaze session for expert guidance
How can I create custom glaze colors from local minerals?
To create custom glaze colors, start by identifying a local mineral, crush it to a uniform grit, blend it with a silica-rich base and a suitable flux, test the mixture on a test tile, and fire it at the glaze’s target temperature in a reliable kiln.
The first step is field collection. In the hills around Porto, look for iron-rich ochre, copper-bearing stones, or naturally occurring clay deposits. Only gather material from areas where collection is permitted; municipal regulations may apply.
Back in the studio, dry-screen the material through a 200-micron mesh to remove larger fragments. Use a ball mill or a sturdy mortar and pestle to achieve a consistent powder. Consistency influences melt flow and color intensity.
Create a test batch by mixing the mineral powder (10-20 % of the dry glaze weight) with a standard glaze recipe that includes silica, feldspar, and a flux such as whiting. Add water gradually until the glaze reaches a creamy consistency similar to milk.
Apply the test glaze to a bisque tile using a brush or dip. Fire the tile in Kaolin’s weekly-fired kiln at 1,200 °C (typical stoneware range). Record the resulting hue, opacity, and any defects like pinholes.
Iterate: adjust mineral proportion, flux type, or firing schedule. Document each trial in a notebook; small changes can shift a blue to a teal or a brown to a rust.
When a satisfactory color emerges, schedule a private glaze session at Kaolin Ceramics Studio (60 EUR) to scale the formula, discuss safety testing, and produce a small batch of functional ware.
What EU regulations affect homemade mineral glazes for food contact?
EU Directive 84/500/EEC and Regulation (EC) 1935/2004 set strict migration limits for lead and cadmium in food-contact ceramics, requiring a written declaration and laboratory testing to prove that custom glazes stay below 0.8 mg/dm² lead and 0.07 mg/dm² cadmium for non-fillable items.
The legal framework applies to any glaze that will touch food, whether the piece is made at home or sold in a studio shop. Limits are measured on the surface after firing; they do not consider the raw mineral content alone.
Compliance steps:
- Prepare a representative sample of the finished glaze.
- Send the sample to an EU-accredited laboratory for migration testing.
- Receive a report showing measured lead and cadmium release.
- Draft a written declaration stating that the results are below the limits.
- Keep the declaration on file for at least ten years, as required by Regulation (EC) 2023/2006.
If the glaze exceeds the limits, it may still be used for decorative, non-food objects, but it cannot be marketed as dinnerware. The European Commission is working toward tighter limits and additional metals, so staying informed about updates is essential.
Kaolin Ceramics Studio advises beginners to treat every new mineral glaze as non-food safe until a lab report confirms compliance. During a private glaze session, we can help arrange testing and interpret the results.
Which local minerals near Porto produce blue, green, or brown glaze tones?
Near Porto, minerals such as azurite, malachite, and iron-rich ochre can be processed into glazes that fire blue, green, or brown, but each source contains variable trace metals, so each batch must be analysed before use on dinnerware for safe application.
Azurite (Cu₃(CO₃)₂(OH)₂) yields a deep azure when reduced in a reduction atmosphere. It often occurs as small nodules in limestone quarries. Because copper can coexist with lead, a small test for lead content is mandatory.
Malachite (Cu₂CO₃(OH)₂) gives a vibrant emerald green. It is softer than azurite, making it easier to grind, but it also carries copper and may contain trace amounts of zinc or arsenic depending on the vein.
Iron-rich ochre, essentially hydrated iron oxide, produces earthy browns to reddish-orange shades. The iron concentration determines depth; higher iron can create almost black tones. Ochre typically contains minimal lead, yet occasional cadmium traces have been reported in industrial waste deposits.
Other minerals worth experimenting with include:
- Limestone (calcium carbonate) – a flux that brightens blues.
- Kyanite – adds subtle teal hues when combined with copper.
- Mica flakes – create sparkle but must be finely ground.
Because mineral composition varies from one outcrop to another, keep a record of the exact location, visual description, and any visible impurities. This documentation helps when a lab report flags an unexpected metal.
Kaolin’s beginner course (240 EUR) includes a field walk to identify safe mineral sources and a lab-safe grinding station to prepare powders on site.
How can I test a mineral glaze for lead and cadmium before using it on tableware?
Testing a mineral glaze for lead and cadmium requires sending a fired sample to an accredited lab, where migration is measured against EU limits; until results are confirmed, treat the glaze as non-food safe and label any pieces accordingly for.
The most reliable method is the acid-extraction migration test (often called the “food simulant” test). A lab immerses a section of the glazed surface in a 4 % acetic acid solution for 24 hours, then measures metal concentrations in the liquid.
Steps to prepare the test sample:
1. Produce a small tile (approximately 5 × 5 cm) glazed with the exact formula you intend to use.
2. Fire the tile under the same schedule you will use for the final piece.
3. Allow the piece to cool and clean any dust.
4. Package the tile securely and ship it to a certified testing facility.
When the report arrives, compare the reported migration values with the EU thresholds: 0.8 mg/dm² for lead and 0.07 mg/dm² for cadmium on shallow, non-fillable items. If values are lower, you may draft a written declaration and safely market the glaze for mugs, plates, or bowls.
If limits are exceeded, consider:
- Reducing the proportion of the offending mineral.
- Adding a lead-free flux to dilute the contaminant.
- Switching to a different mineral source.
Kaolin Ceramics Studio can help you locate an accredited lab in the Norte region and interpret the findings. During a private glaze session, we also demonstrate how to label pieces correctly, noting “non-food safe” when appropriate.
Always sieve mineral powders through a 200-micron mesh before mixing; larger particles can cause pinholes, uneven color development, and unpredictable migration results.
Frequently asked questions
Are mineral glazes automatically food safe?
No. Even if a raw mineral is non-toxic, the firing process can release lead, cadmium, or other metals. Only laboratory migration testing can confirm food-contact safety.
Can I collect minerals in Portugal without a permit?
Collecting is allowed in many public areas, but some sites are protected or require permission. Always check municipal regulations before gathering stone, and avoid extracting from archaeological zones.
What firing temperature works best for mineral glazes?
Most stoneware mineral glazes mature between 1,150 °C and 1,250 °C. The exact temperature depends on the mineral’s flux content; a test tile helps pinpoint the optimal range for color saturation and surface integrity.