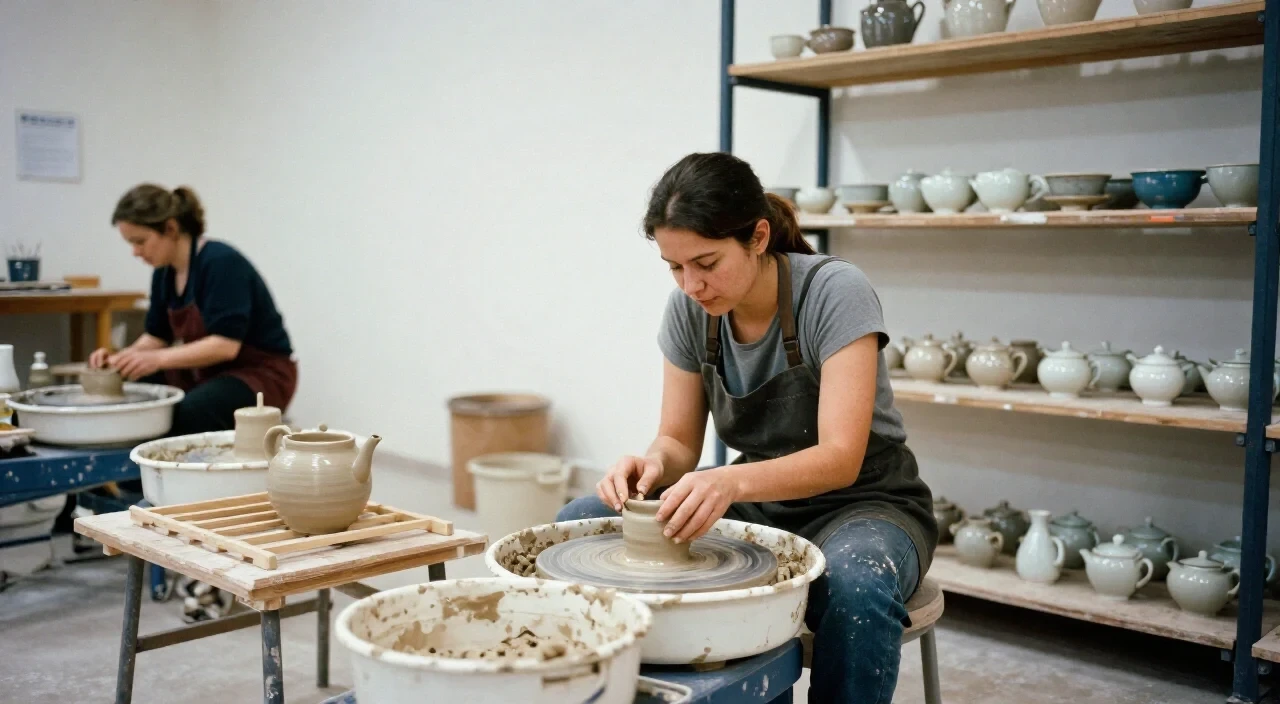
A simple ceramic teapot can be thrown on the wheel by preparing enough stoneware, centering a cylinder, pulling walls, shaping the body, then forming and attaching a lid, spout and handle before drying, bisque firing, glazing with food-safe glaze and final firing, all while respecting EU food-contact rules.
Table of Contents
Key takeaways
- Use stoneware with low lead and cadmium
- Allow 2-3 weeks for drying and firing in a weekly kiln
- Test lid fit and spout flow before glazing
- Document compliance for any market sale
How much clay do I need to throw a small teapot?
A small teapot typically requires 8 – 10 kg of stoneware clay, which accounts for the body’s shrinkage and the extra pieces such as lid, spout and handle, ensuring enough material for a comfortable wall thickness and a sturdy attachment, and leaves a margin for test pieces or practice throws.
At Kaolin Ceramics Studio we advise beginners to start with a 10 kg sack of stoneware that meets EU food-contact standards (lead < 0.1 mg/kg, cadmium < 0.03 mg/kg). After wedging, split the batch: reserve about 2 kg for the body, 1 kg for the lid, and smaller amounts for spout and handle. Remember that stoneware shrinks roughly 10 % during drying and bisque firing, so design walls around 6-8 mm thick when wet. Keep the extra clay covered with a damp cloth to prevent drying out. If you run low, the studio’s open-studio sessions provide additional material and a chance to weigh and record the exact amount used, which is helpful for future replication.
Common mistake: using too little clay and ending up with thin walls that warp during drying. To avoid this, weigh each component before shaping and compare it with the recommended amounts above. When in doubt, add 10 % more than the minimum; the extra can be rolled into test tiles for glaze trials.
What to do, step by step
- Prepare clayWedging removes air bubbles and creates uniform moisture.
- Center bodyPlace a 2-kg lump on the wheel, add water, and bring it to a centered mound.
- Pull wallsOpen the centre, pull up gently, and shape a uniform cylinder about 10 cm high.
- Shape bodyTaper the top, smooth the outside, and cut the base to the desired size.
- TrimTrim excess clay, leaving a foot ring for stability.
- Form lidRoll a small cone, flatten the top, and shape a shallow dome that matches the body’s opening.
- Form spoutPull a thin tube, flare the tip, and curve it to pour comfortably.
- Form handleRoll a coil, bend it into a C-shape, and size it for a comfortable grip.
- Dry to leather-hardLet the pieces sit 24-48 h, covered, until they no longer feel cool to the touch.
- Attach partsScore and slip the joints, align the lid, then press the spout and handle onto the leather-hard body.
- Bisque fireLoad the assembled teapot into Kaolin’s weekly kiln and fire to 1100 °C for stoneware.
- GlazeApply a certified food-safe glaze, avoiding the interior seam for extra security.
- Glaze fireFire again to 1240 °C, following the glaze’s recommended temperature range.
- Test food safetyAfter cooling, perform a simple boiling water test and keep the compliance declaration on file.
How do I make the lid fit a wheel-thrown teapot?
The lid should be slightly smaller than the body’s opening at leather-hard stage, allowing a snug but removable fit after bisque firing; a 2-3 mm clearance compensates for shrinkage.
First, measure the body’s interior diameter when leather-hard. Subtract about 2 mm to set the lid’s outer diameter. Form the lid as a shallow dome, keeping the walls thin (≈4 mm) to avoid excess weight. After trimming, smooth the rim with a rib to create a flat sealing surface. Let the lid dry to leather-hard separately, then test the fit by gently placing it on the body. If it is too tight, lightly sand the rim; if too loose, add a thin coil around the lid’s edge and smooth it in.
At Kaolin, instructors often demonstrate the “finger-test”: press a fingertip into the gap; you should feel a slight resistance but still be able to lift the lid without force. Remember that both pieces will shrink about 10 % during bisque firing, so the clearance you create now will close up to a perfect fit later. Document the measurements for future projects and keep a record of the glaze’s compatibility with the chosen clay, because some glazes can change the lid’s dimensions during the glaze fire.
How do I attach the spout and handle without cracking?
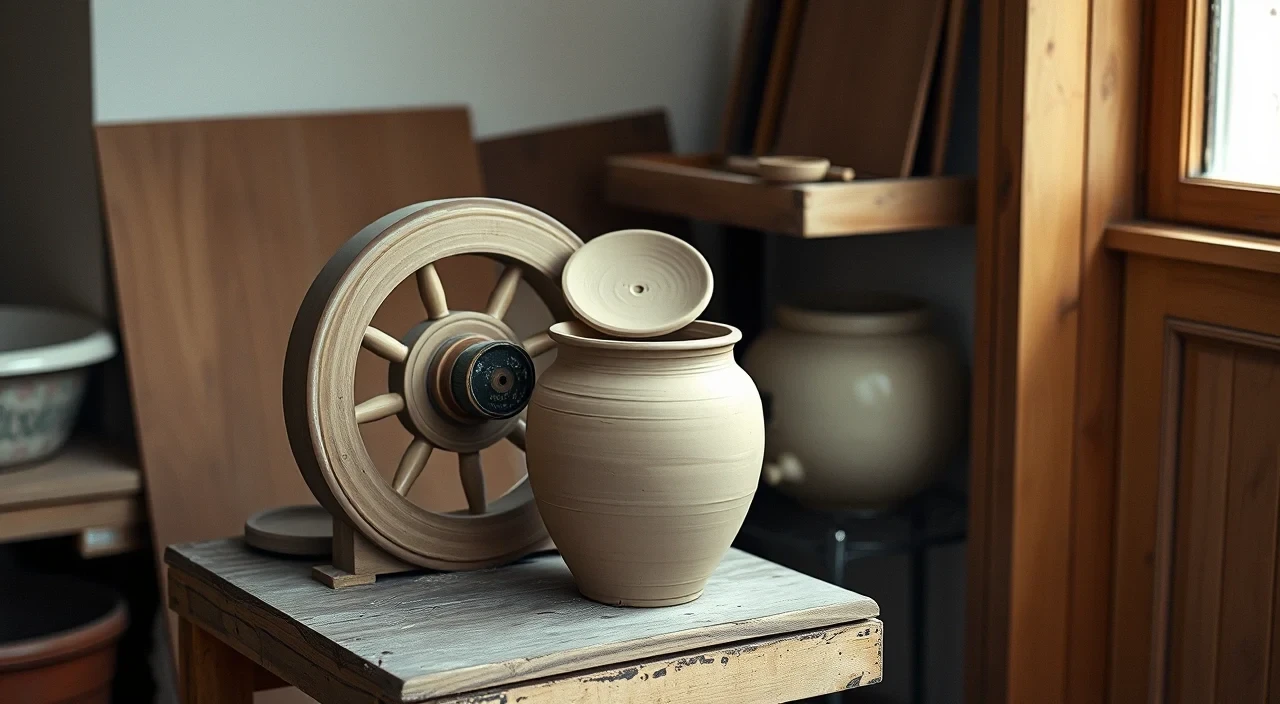
Attach spout and handle when the body is leather-hard, using scored and slipped joints, and support the pieces with a kiln shelf or plaster bat to avoid stress during drying and firing.
Score both the attachment area on the body and the corresponding surface on the spout or handle with a fine needle tool. Apply a slip made from the same stoneware dust mixed with water (1 : 1 ratio) to fill the scored lines. Press the parts together firmly, twisting slightly to ensure the slip penetrates the joint. For the spout, angle it about 45° upward and test the flow by pouring water through a quick glaze-test tile; adjust if the stream drips.
Support is crucial: place the assembled teapot on a plaster bat or a kiln shelf with a small ridge under the handle so the weight is evenly distributed. Keep the piece covered for 12-24 h to allow the joint to stiffen before moving it. In Kaolin’s open-studio sessions, staff check each joint for cracks and recommend a quick “dry-touch” test—run a fingertip along the seam; any give indicates the joint is still too wet and needs more drying time.
Common mistake: attaching parts when the body is bone-dry or the spout is still very wet, which creates a weak bond that cracks during bisque fire. The rule of thumb is: both pieces should feel firm but still have a slight give when pressed.
Quick reference
Stoneware clay (EU food-safe), food-safe glaze, slip, plaster bat, kiln shelf
Wedging 30 min • Throwing 45 min • Drying 2-3 days • Bisque fire 1 day • Glaze fire 1 day
Can a beginner safely make a functional teapot in Portugal?
Yes, a beginner can throw a functional teapot at Kaolin Ceramics Studio by following the step-by-step process, using EU-compliant materials, and documenting the piece for any future sale; the studio’s weekly kiln and expert guidance reduce risk of cracks and non-compliance.
Kaolin offers a two-hour wheel-taster (€45) and a six-week beginner course (€240) that cover clay preparation, centering, pulling, and assembly. The studio’s kiln runs every Saturday, reaching up to 1280 °C, which is sufficient for stoneware bisque and glaze firings. Instructors emphasize the EU Regulation (EC) No. 1935/2004 and Portuguese Decree-Law No. 190/2007, explaining why a written declaration of compliance is needed if the teapot will be sold or given away for food use.
During the course, students test spout flow by pouring water onto a tile, check lid clearance with the finger-test, and learn how to record the glaze batch number for traceability. If the final piece is intended for market sale, Kaolin can arrange a migration test at a certified lab; the result is added to the declaration that accompanies the product. For personal use, following the food-safe glaze list and firing schedule is enough to meet the legal limits on lead and cadmium migration.
Start your teapot project
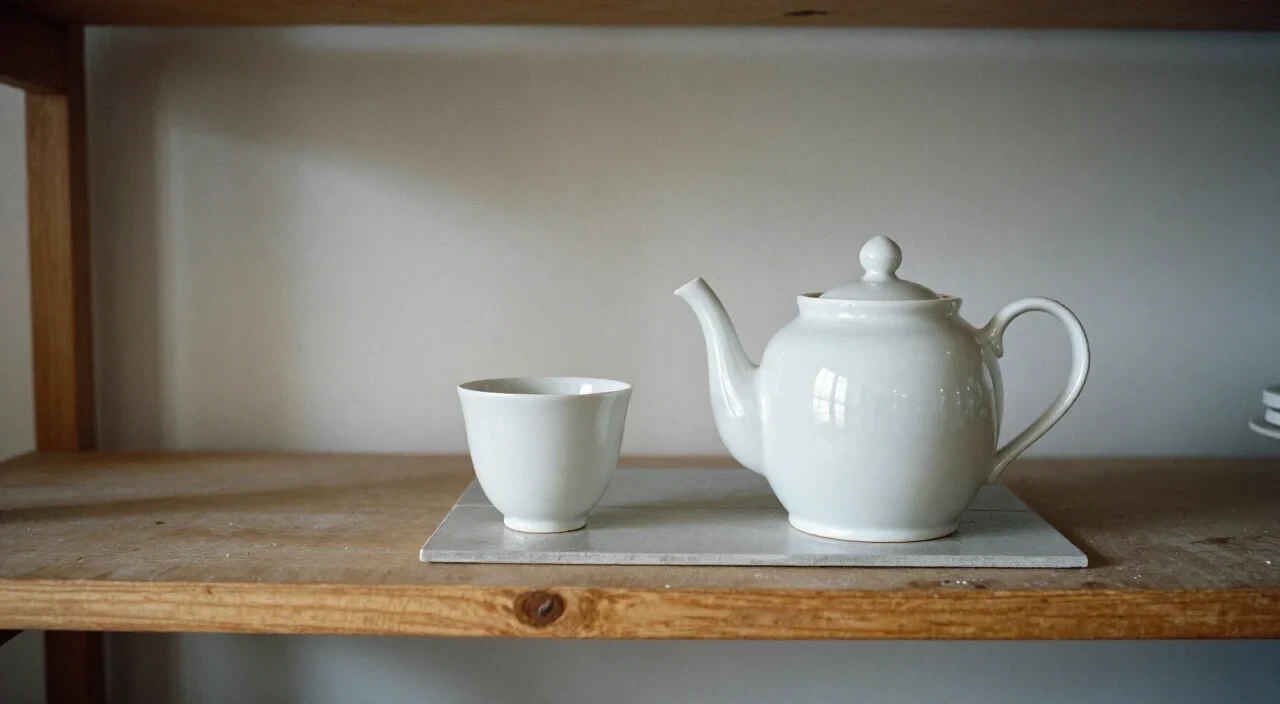
Contact Kaolin Ceramics Studio to book a workshop or a private glaze session and turn your idea into a food-safe teapot.
Frequently asked questions
How long does a hand-thrown teapot take from start to finish?
Typically 2 – 3 weeks: 1 day for throwing, 2–3 days for drying to leather-hard, 1 day for bisque fire, 1 day for glazing, and another day for the glaze fire. Local kiln schedules may add a day or two.
What glazes are approved for food contact in the EU?
Only glazes that meet the migration limits of Directive 84/500/EEC (lead < 0.1 mg/kg, cadmium < 0.03 mg/kg) and are listed as food-safe by the manufacturer can be used. Kaolin stocks several low-lead, low-cadmium glazes suitable for stoneware.
Do I need a declaration to sell my teapot in Portugal?
Yes. Under Decree-Law No. 190/2007, any ceramic intended for food contact must be accompanied by a written declaration confirming that lead and cadmium migration tests are within legal limits. The studio can help arrange the required analysis.