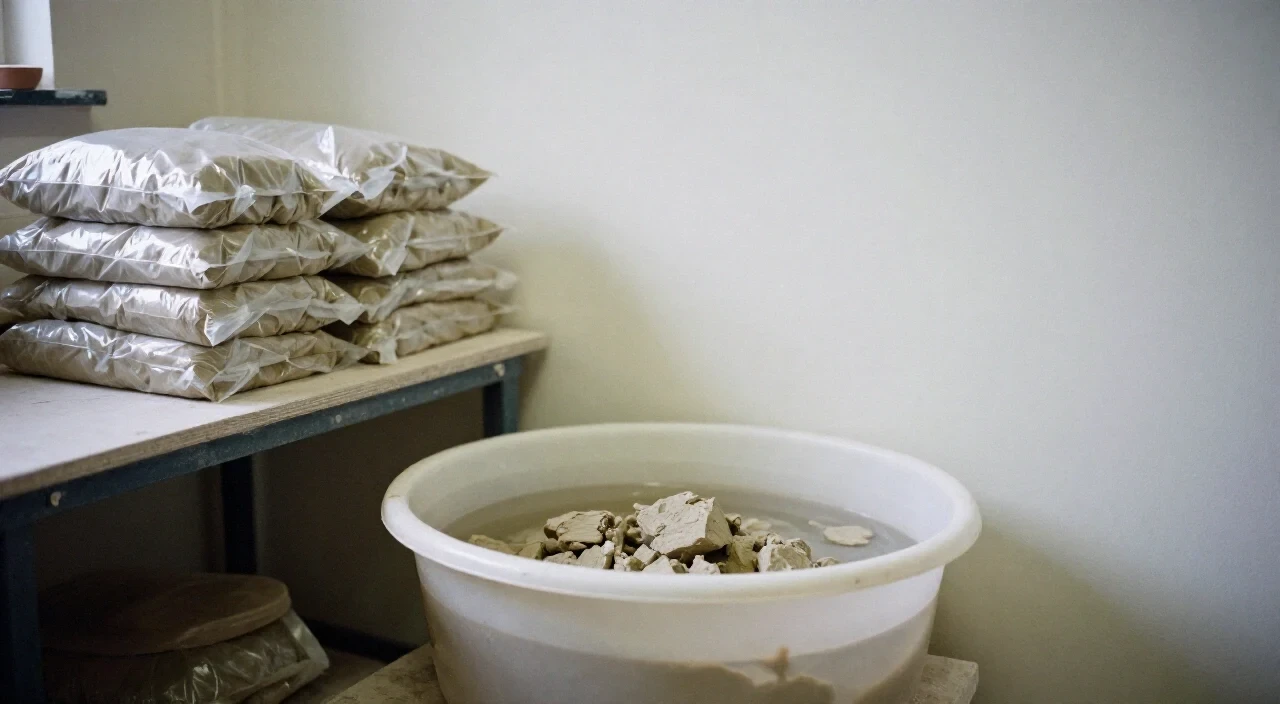
Yes, completely dry clay can be reused. Break it into small pieces, soak it in water until it slakes, then dry the slurry to a workable consistency. Store reclaimed clay airtight to keep it ready for future projects.
Table of Contents
Key takeaways
- Bone-dry clay needs to be broken into small chunks before soaking, or rehydration can take days.
- Add water gradually and let the moisture redistribute before judging the consistency.
- Store reclaimed clay in an airtight bag or lidded container, labelled with the clay body and date.
- Keep dry clay dust out of the air: wet mop spills and avoid dry sweeping.
Can completely dry pottery clay be reused?
Yes. Unfired clay that has dried out completely is not waste. It can be reclaimed by breaking it into small pieces, soaking it in water, and then drying the slurry back to a workable consistency. This works for trimmings, failed pieces, and clay left too long on the wheel.
The key is to treat bone-dry clay differently from clay that is merely a bit stiff. Bone-dry clay is light, porous, and breaks with a dry snap. Slightly firm clay is still leather-hard or plastic enough to soften with a little water and time. Confusing the two is where most reclaim problems start.
At Kaolin Ceramics Studio in Porto, we collect trimmings and broken unfired pieces in a lidded bucket. When the bucket is full, we cover the fragments with water and leave them to slake. The process is simple, but it rewards patience: fully dry chunks soften fastest when they are broken into smaller pieces first.
A practical approach for a home or studio:
- Break bone-dry pieces into chunks no larger than a fist, or smaller if you have the time.
- Place them in a container and cover completely with water.
- Let them soak for several hours or overnight.
- Drain or pour off excess water, then let the slurry dry to a workable consistency.
Do not skip the breaking step. A large block of bone-dry clay can take days to slake, and the outside will turn to slurry while the inside stays rock hard.
How long should dry clay soak before reclaiming?
Plan for several hours to overnight. Small chunks of bone-dry clay usually slake within a few hours when fully covered with water. Larger chunks, colder water, or dense clay bodies can take longer, so overnight is the most reliable choice.
The goal is not to dissolve the clay completely. It is to let the water penetrate the pores so the pieces collapse into a thick slurry. Once the chunks have fallen apart, the clay is ready to be dried back to a working consistency.
A common mistake is pouring a large amount of water onto partly dry clay and leaving it for days. That produces a soupy mess that takes a long time to dry. Instead, use just enough water to cover the pieces, then check them after a few hours.
In Porto's humid coastal climate, drying reclaimed clay can be slower than in a dry inland studio. That is an advantage: the slurry dries more evenly and is less likely to form a crust. The trade-off is that you cannot rely on a fixed drying time. Check the consistency by pressing a finger into the clay. It should be stiff enough to hold a fingerprint but soft enough to wedge without cracking.
Once the slurry reaches that point, spread it on a plaster bat or a clean canvas surface to dry further if needed. When it is workable, wedge it thoroughly to even out the moisture, then store it airtight.
It is to let the water penetrate the pores so the pieces collapse into a thick slurry.
What is the best container for storing reclaimed clay?
A sealed plastic bag inside a lidded plastic bucket is the most reliable option. The bag keeps moisture in, and the bucket protects the bag from punctures and makes it easy to stack. A lidded container on its own also works if the lid fits tightly.
The main rule is simple: reclaimed clay must be stored airtight. Exposed clay loses moisture quickly, and a batch that took days to reclaim can become too stiff in a single dry afternoon. Sealing it stops that process almost completely.
Before sealing, shape the clay into a block or a few thick slabs. This gives you a compact form that is easy to wrap and keeps air pockets to a minimum. Press out as much air as possible from the bag before closing it.
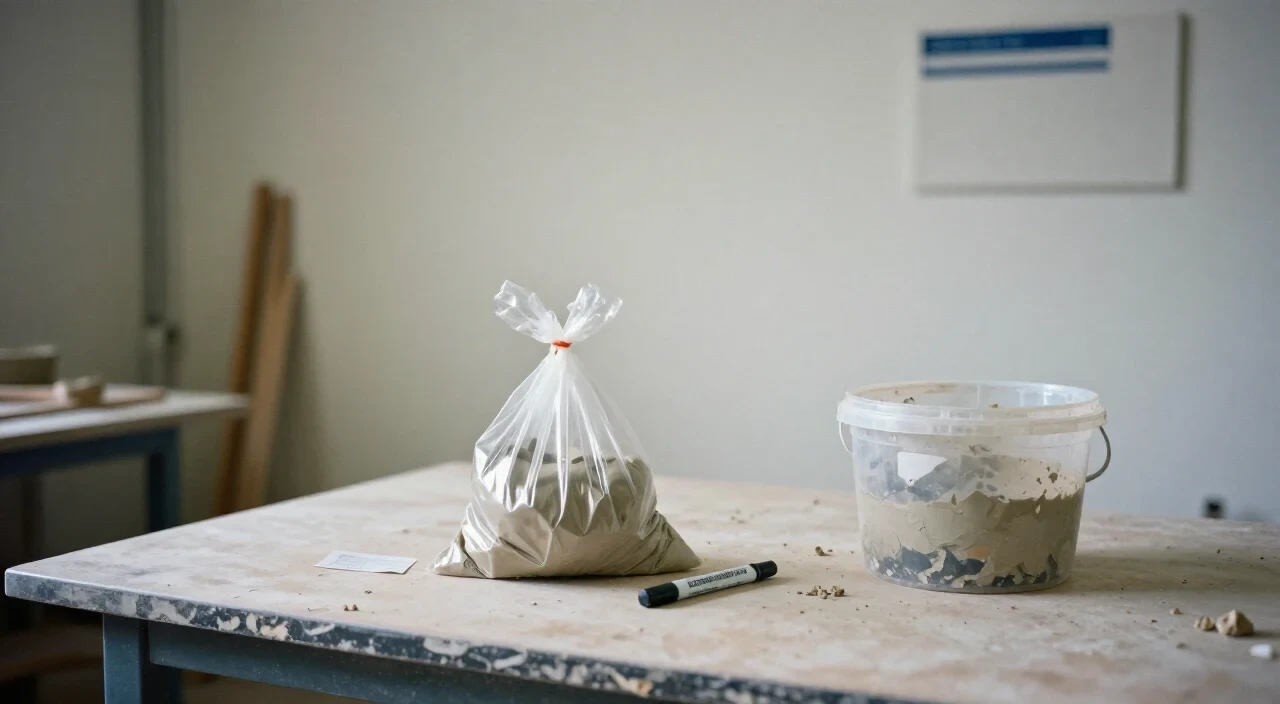
Label the bag with the clay body and the date. This matters more than most people expect. Different clays have different firing ranges and shrinkage rates, and a workshop full of unlabelled reclaim is a recipe for kiln disasters. At Kaolin Ceramics Studio, every bag of reclaim gets the same treatment: clay body, date, and a note if it has been wedged or is still firming up.
For slightly firm clay that has not gone bone dry, do not add water blindly. Add a small amount of water, seal the bag, and wait a day or two. The moisture redistributes through the clay, and it often becomes workable again without any further water.
Is dry clay dust dangerous to breathe?
Dry clay can contain respirable crystalline silica, which is dangerous when inhaled in fine dust form. The risk comes from handling dry clay, mixing it, or sanding dry pieces, not from working with wet clay. Wet methods, ventilation, and dust-minimising cleanup keep exposure low.
In a studio, the practical rules are straightforward. Keep dry clay work away from areas where people eat or drink. Wear a dust mask rated for fine particles if you are mixing dry clay from powder. Do not dry sweep clay dust from the floor; wet mop instead, or use an H-class or HEPA vacuum designed for fine dust.
Sanding bone-dry or bisque-fired clay creates the finest dust, so sand wet or under a vacuum where possible. The same principle applies to cleaning the studio after a day of trimming. Trimmings are safer to handle when they are still damp, so collect them into a reclaim bucket before they dry out.
At Kaolin Ceramics Studio, we keep reclaim buckets covered and handle dry scraps as little as possible. The studio is a working ceramics space in Porto, and the same precautions apply to anyone making pottery at home. None of this is complicated, but it is worth building into a routine before dry clay becomes a problem.
A simple cleanup checklist:
- Wet mop floors instead of sweeping dry dust.
- Wipe work surfaces with a damp sponge.
- Use an H-class or HEPA vacuum for corners and hard-to-reach spots.
- Keep dry clay and reclaim buckets covered.
- Wash hands after handling clay, and keep food and drink away from the work area.
Learn reclaim in the studio
Visit Kaolin Ceramics Studio in Porto to see how a working studio handles clay, reclaim, and firing — or join a workshop and try it yourself.
Frequently asked questions
Can I rehydrate clay without breaking it into pieces?
Yes, but it takes much longer. A large bone-dry block will eventually soften if fully submerged, but the outside turns to slurry while the inside remains hard. Breaking it into small chunks speeds up the process and produces a more even result.
Why does reclaimed clay become lumpy or crumbly?
Lumpy reclaim usually means the clay was sealed before the moisture could redistribute, or the chunks were too large to slake fully. Crumbly clay means it dried out too much before being stored. Add water gradually, seal it, and let it rest before wedging.
How do I know when reclaimed clay is ready to use?
The clay should feel like fresh clay from the bag: firm enough to hold its shape, soft enough to wedge without cracking. Press a finger into the surface; if it springs back slowly, it is ready. If it cracks at the edges, it needs a little more moisture.
Can I mix different clay bodies when reclaiming?
Avoid mixing different clay bodies unless you know their firing ranges are compatible. Different clays shrink and mature at different temperatures, so mixed reclaim can cause warping or firing problems. Keep reclaim batches separate and label them clearly.