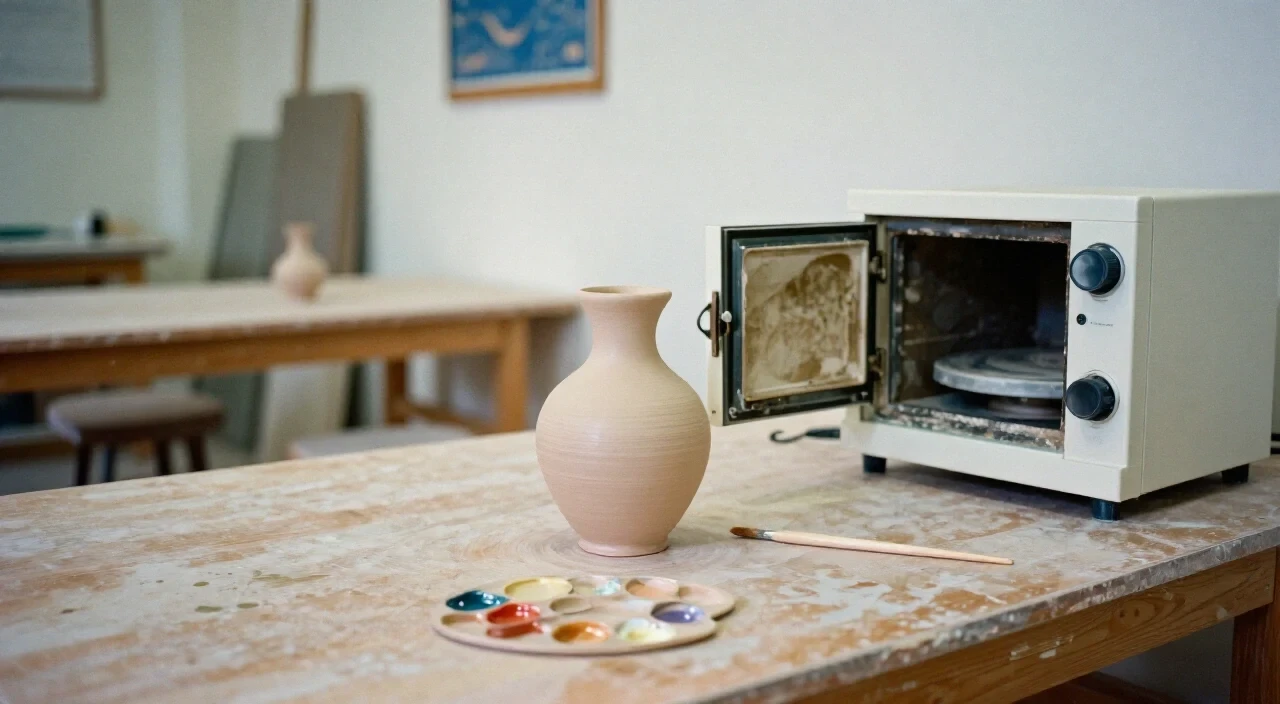
Hand-painting glazes on earthenware involves preparing a bisque piece, applying glaze with a brush in thin layers, wiping the foot, and firing at the manufacturer’s range (typically 1060–1100 °C) while respecting EU food-contact regulations for safe, durable results and ensuring the final piece is suitable for everyday use.
Table of Contents
Key takeaways
- Start with bisque before glazing
- Apply glaze in thin, even coats
- Wipe at least 5 mm from the foot
- Fire within the glaze’s recommended temperature range
How do you hand-paint glaze on earthenware?
Hand-painting glaze on earthenware starts with a clean bisque piece, then applying thin, even brush strokes of the chosen glaze, wiping the foot at least 5 mm, and finally firing within the glaze’s specified range while monitoring kiln atmosphere and noting any colour shifts.
First, bisque-fire the earthenware to around 950 °C; this makes the body porous enough to accept glaze without cracking. Once cooled, dust off any ash and test the glaze on a small tile that matches the body and kiln. Use a soft, natural-hair brush, loading it with just enough glaze to keep the bristles moist but not dripping. Apply in long, overlapping strokes, working from the base outward to avoid pooling. After the surface is covered, inspect for brush marks; a light sanding with fine ceramic paper can smooth minor imperfections before the final coat.
When the glaze is dry to the touch, use a damp cloth or a small brush to carefully wipe back the glaze from the foot, leaving at least a 5 mm margin. This prevents the piece from fusing to the kiln shelf. Stack glazed pieces on kiln stilts or use kiln shelves with separator paper. Load the kiln according to Kaolin Ceramics Studio’s schedule, allowing a gradual ramp-up to the target temperature, typically 1060–1100 °C, depending on the glaze manufacturer. Hold at peak temperature for the recommended soak time, then cool slowly to avoid thermal shock. After cooling, inspect the glaze for defects such as crawling or pinholing; if any appear, a second firing may be necessary.
How many coats of glaze should I apply when hand-painting?
Generally, two thin coats give even colour and coverage; a single thick coat often leads to running, while three very light coats can improve depth without risking glaze defects.
Begin with a test tile to gauge opacity. Apply the first coat thinly, allowing it to dry to the touch (usually 15–30 minutes in a dry studio). Lightly sand any drips or brush marks with 400-grit ceramic paper, then wipe the surface clean. Apply the second coat in the same manner, focusing on areas that need richer colour. If the glaze is transparent and the design calls for subtle shading, a third glaze layer can be added after the second coat has fully dried. Remember that each additional layer increases the risk of crawling, especially on porous bisque, so keep each coat as thin as possible.
Common mistakes include over-loading the brush, which creates runs, and under-drying between coats, which traps moisture and causes blistering during firing. Use a timer to track drying intervals, and keep a ventilation fan running to speed up moisture removal. When working in Kaolin Ceramics Studio, coordinate glaze applications with the kiln’s next firing window to avoid unnecessary storage, which can attract dust or cause glaze to dry unevenly.
Do I need to bisque-fire earthenware before glazing?
Yes, bisque-firing is essential; it removes physical water, creates a stable porous body, and prevents glaze from soaking in too quickly, which could cause cracking or uneven colour.
Bisque firing typically occurs at 950–1000 °C, a temperature that vitrifies the clay enough to hold shape but leaves enough porosity for glaze adhesion. After bisque, allow the ware to cool completely; rapid cooling can re-introduce moisture. Store the bisqued pieces in a clean, dust-free area—Kaolin Ceramics Studio provides sealed cabinets for this purpose. When ready to glaze, lightly mist the surface with water to improve glaze flow, especially for low-viscosity glazes. Skipping bisque can result in glaze slumping, severe crazing, or even the piece breaking during the glaze firing because the body expands unevenly.
If a piece is intended for food use, bisque firing also helps meet EU Regulation (EC) No 1935/2004 by ensuring the clay body is stable and does not release harmful substances when later glazed and fired.
What temperature should earthenware glaze be fired at and how can I avoid kiln damage?
Earthenware glazes are usually fired between 1060 °C and 1100 °C; always follow the glaze manufacturer’s range, as it overrides generic earthenware guidelines.
Start by consulting the glaze datasheet for the exact cone range (e.g., Cone 10 = 1060 °C). Program the kiln to ramp up gradually—about 100 °C per hour—to avoid thermal shock to both the glaze and the clay body. During the soak at peak temperature, maintain a stable atmosphere; excessive reduction can cause metallic sheen or glaze defects, while too much oxidation may mute colours. After the soak, allow a controlled cooldown of at least 30 minutes per 100 °C drop.
Key steps to prevent kiln damage:
- Wipe the foot: remove glaze from the base to stop pieces fusing to shelves.
- Use kiln stilts or separator paper: this protects both the ware and the shelf.
- Check kiln shelves: replace any cracked or warped shelves before loading.
- Load evenly: avoid overcrowding, which can cause uneven heat distribution.
- Record the firing schedule: Kaolin Ceramics Studio keeps a logbook; referencing past successful firings helps predict outcomes.
Remember that EU food-contact regulations require the glaze to be fully matured; under-firing can leave leachable lead or cadmium in the glaze, even if it is marketed as “lead-free.” Always fire to the glaze’s recommended temperature to achieve a stable, non-leaching surface.
Practical tip: Always fire a test tile that matches your earthenware body and chosen glaze before committing to a full production run. This reveals colour shifts, melting behaviour, and any compliance issues with EU food-contact standards.
Frequently asked questions
Are hand-painted mugs food-safe?
Only if the glaze used complies with EU Regulation (EC) No 1935/2004 and the piece is fired to the glaze’s full maturity range. Verify the manufacturer’s food-contact declaration before selling or using for consumption.
Can a lead-free glaze still leach metals?
Yes. “Lead-free” does not guarantee the absence of other heavy metals such as cadmium or nickel. Ensure the glaze meets all migration limits set by Directive 84/500/EEC and its amendments.
How do I clean glaze off the foot without damaging the piece?
Use a damp sponge or soft brush to gently wipe the foot after the glaze has dried but before firing. If glaze has hardened, a light sanding with 600-grit ceramic paper followed by a damp wipe will remove excess without harming the body.