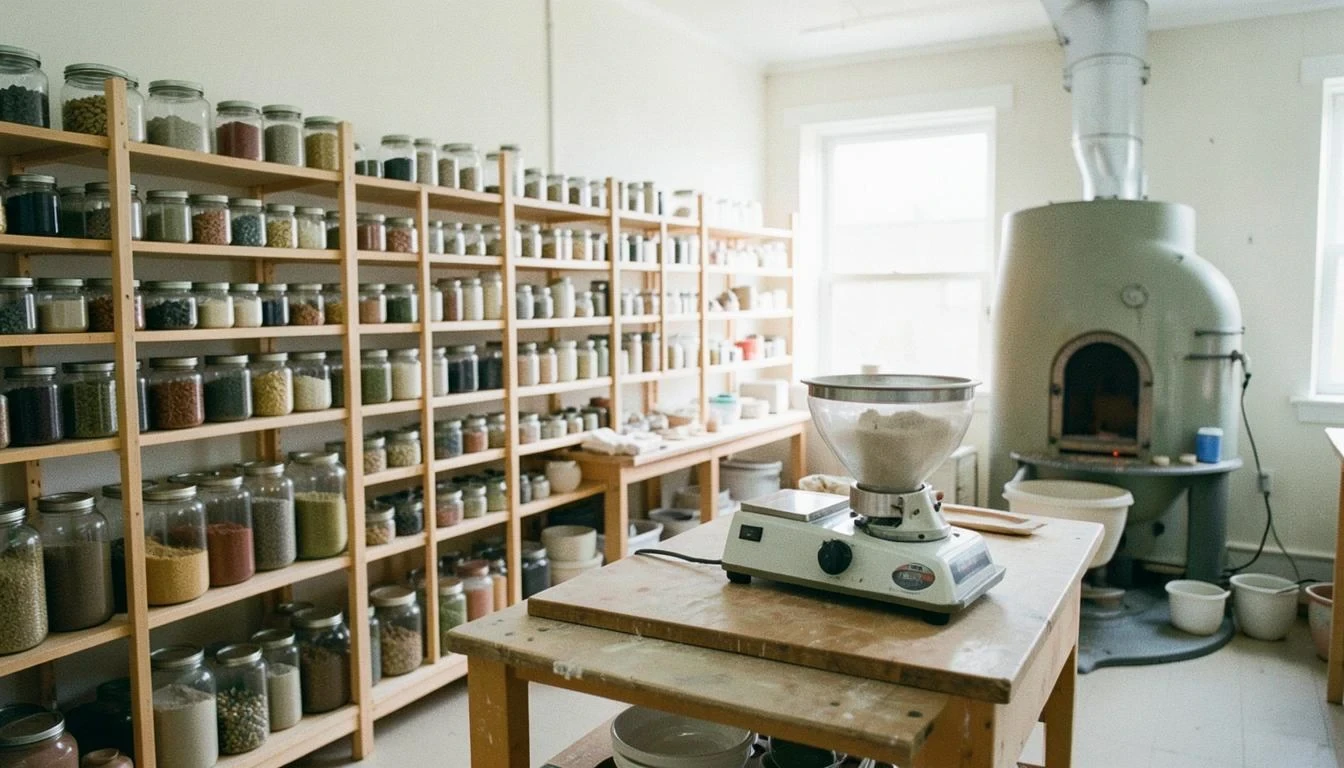
Portuguese glaze recipes often use locally available minerals and oxides to create earthy, durable finishes unique to the region. This step-by-step tutorial guides you through sourcing, mixing, and testing a traditional local glaze using accessible materials. Based on common practices in ceramic studios across northern Portugal, the process emphasizes safety, precision, and adaptability for studio potters in Porto and beyond.
Table of Contents
Key takeaways
- Traditional Portuguese glaze recipes often rely on regional clays, feldspar, and iron-rich materials.
- A successful local glaze requires precise measurement, thorough sieving, and controlled firing.
- Glaze behavior changes based on clay body and kiln atmosphere—always test on small tiles first.
- Studios in Porto commonly adapt historic formulas using modern safety and consistency practices.
What materials are in traditional Portuguese glaze recipes?
Traditional Portuguese glaze recipes typically combine locally available minerals like feldspar, quartz, and clay with natural colorants such as iron oxide or manganese. These materials create stable, mid-range temperature glazes (cone 6–8) common in northern Portugal. The mix is adjusted based on regional mineral availability and desired finish.
The base components are similar across many Iberian ceramic traditions. Feldspar acts as a flux, lowering the melting point. Silica (often from quartz) provides structure and glassiness. Kaolin or local clay adds suspension and reduces settling in the glaze slurry.
Colorants are drawn from natural sources. Iron oxide produces warm amber, brown, or olive tones, especially in reduction firing. Manganese yields purple or gray-black, depending on concentration. Copper carbonate, though less traditional, is sometimes used for green flashes in wood-fired kilns.
- Use only ceramic-grade materials, even when sourcing locally
- Label all containers clearly with contents and date
- Store powders in airtight containers away from moisture
- Wear a respirator when handling dry materials
In Porto, some potters source feldspar from northern quarries and blend it with riverbed silica. These local variations contribute to subtle differences in texture and color. The key is consistency: once a working formula is found, small batches should be mixed with exact measurements to ensure repeatable results.
How do I mix a local glaze safely and correctly?
To mix a local glaze safely, measure dry ingredients precisely, combine them slowly with water, and sieve the mixture at least twice through an 80-mesh sieve. Work in a well-ventilated area and wear protective gear to avoid inhaling fine particles. This step-by-step tutorial ensures a smooth, bubble-free glaze slurry ready for application.
Start by weighing each ingredient using a digital scale accurate to 0.1 grams. Common base ratios for a matte stoneware glaze are 50% feldspar, 30% silica, 20% kaolin, plus 5–10% colorant. Adjust based on desired effect and clay body.
Add dry materials to a large mixing bucket in order of increasing weight. This helps distribute trace elements evenly. Gradually add water while stirring with a spatula or drill mixer. The consistency should resemble heavy cream—thick enough to coat a bisque tile but fluid enough to pour.
Sieve the mixture twice to remove lumps and impurities. Let the glaze settle for 12–24 hours, then check specific gravity. A hydrometer or simple weight-per-100ml test can help: most dipping glazes perform best between 1.45 and 1.55 g/ml.
Common mistakes include adding too much water, skipping sieving, or using contaminated tools. These lead to pinholes, crawling, or uneven color. Always mix small test batches before scaling up.
How do I test a new glaze recipe?
Test a new glaze by applying it to bisque-fired test tiles with varying thicknesses and firing them at your target temperature. Observe color, texture, and fit to the clay body. This step-by-step tutorial ensures reliable results before using the glaze on finished pieces.
Prepare at least three identical tiles from the same clay body you plan to use. Label each with the glaze name, date, and application method. Dip one tile for 3 seconds, another for 5, and brush a third with two coats. This shows how thickness affects the final appearance.
Fire the tiles in the same position as your regular loads to replicate real conditions. Reduction, oxidation, and cooling rate all influence the outcome. Iron-based glazes, for example, may turn green in oxidation but rich brown in reduction.
Evaluate the fired results for:
- Even coverage – no bare spots or pooling
- Surface quality – matte, glossy, or textured as intended
- Crazing or shivering – signs of poor glaze-to-clay fit
- Color accuracy – matches expectations or historical references
Keep a glaze journal with photos, notes, and adjustments. If the glaze runs, reduce flux; if it’s too dull, increase silica slightly. Never assume a recipe works without testing—especially when using local materials with variable composition.
In studios around Porto, potters often share test results informally, helping refine regional recipes over time. Kaolin Ceramics Studio supports this culture of collaboration through open workshops and material exchanges.
Always perform a glaze fit test: after firing, place a test tile in ice water, then boiling water. Repeat three times. If it cracks or crazes, the glaze is under stress and may fail on functional ware.
Can I adapt Portuguese glaze recipes for electric kilns?
Yes, Portuguese glaze recipes can be adapted for electric kilns by adjusting colorants and fluxes to suit oxidation firing. Traditional wood-fired glazes often rely on reduction effects, so substitutes like zinc or titanium may be needed to achieve similar textures. This step-by-step tutorial helps maintain authenticity while working with modern equipment.
Electric kilns create a stable, oxygen-rich environment. This changes how metal oxides behave. Iron, for example, produces brighter yellows and oranges in oxidation rather than the deep browns of reduction. To mimic traditional looks, reduce iron content and add small amounts of titanium dioxide for mottling.
Matte finishes common in rural Portuguese pottery can be preserved by increasing kaolin and reducing feldspar. Avoid lead-based fluxes entirely—modern alternatives like calcium borate or magnesium carbonate are safer and equally effective.
- Test color shifts by comparing small samples in both kiln types
- Use clear glaze over test layers to see depth and transparency
- Adjust firing schedules: slower cooling can enhance crystallization
Some potters in Porto use hybrid approaches—applying traditional glazes in electric kilns but simulating wood ash effects with ash washes or layered slips. The goal is not perfect replication, but respectful evolution of local tradition.
Kaolin Ceramics Studio offers workshops where participants explore these adaptations, combining historical inspiration with contemporary studio practice.
Frequently asked questions
Where can I source materials for Portuguese glaze recipes near me?
Local ceramic suppliers in Porto often carry feldspar, silica, and kaolin. Some potters collect and process natural materials, but these must be tested for safety. Studio workshops may offer access to pre-processed local blends.
Do I need special equipment to mix glazes?
A digital scale, 80-mesh sieve, mixing buckets, and protective gear are essential. A drill mixer helps with consistency. Most tools are available at ceramic supply stores or online.
Can I use these glazes on food-safe ware?
Only if the final glaze is fully vitrified, free of heavy metals, and shows no crazing. Always test leaching with acidic solutions if intended for functional use.
How long does a homemade glaze last?
Properly stored glazes can last years. Keep them covered, stir before use, and top off evaporated water. Mold or foul smell means it should be discarded.