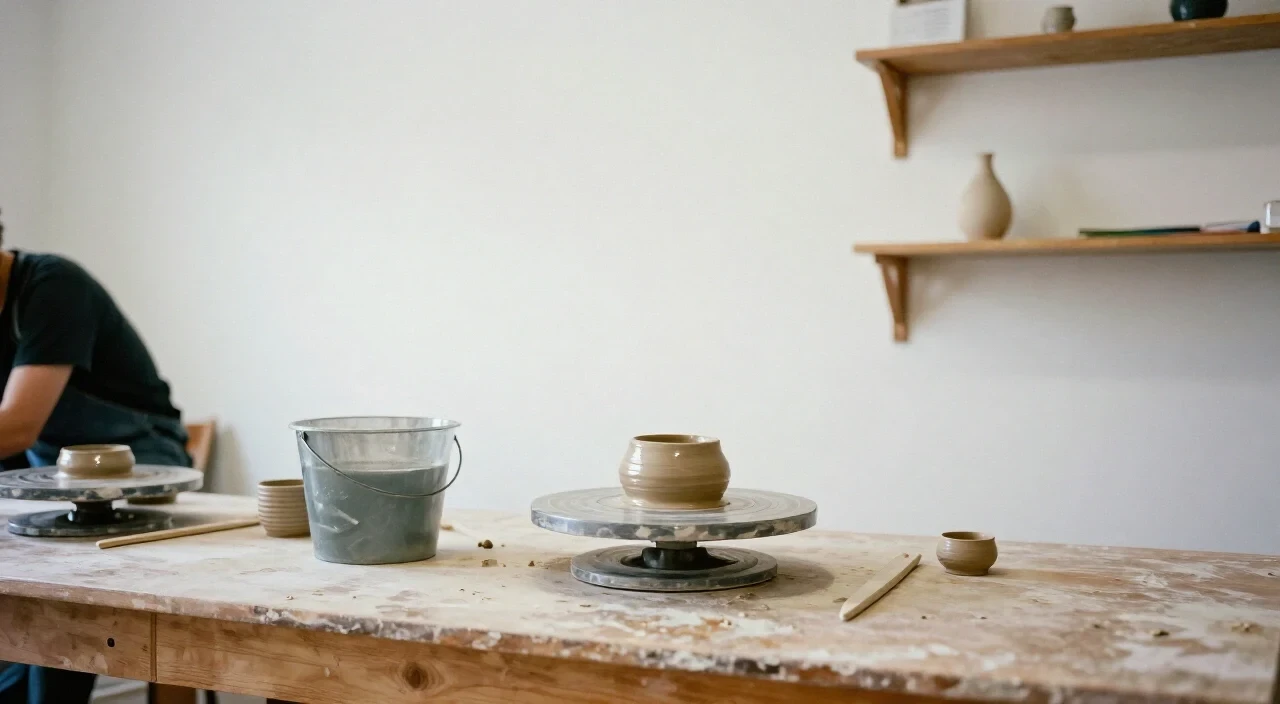
The most effective way to avoid common mistakes when throwing your first pot on a wheel is to focus on consistent centering, proper water control, steady pressure, and patient trimming, while using a well-prepared clay body and a correctly set-up wheel.
Table of Contents
- 01What are the most frequent pottery mistakes beginners make on the wheel?
- 02How can proper centering prevent other wheel-throwing errors?
- 03Why does water management matter for the first pot?
- 04What routine checks should be done before starting a wheel-throwing session?
- 05Frequently asked questions
- 06Read next
Key takeaways
- Center the clay before shaping
- Use just enough water to keep the surface slick
- Apply even pressure with slow, deliberate movements
- Trim only after the walls have firmed up
What are the most frequent pottery mistakes beginners make on the wheel?
Beginners often struggle with off-center clay, excessive water, uneven pressure, and premature cutting. These errors cause wobbling walls, collapse, or uneven rims, turning a simple first pot into a frustrating experiment. They also tend to rush the drying stage, which leads to cracks during firing.
Off-center clay is the root of most wobble. When the mass is not aligned with the wheel's axis, the walls will curve outward and the piece can topple. A quick test is to pause the wheel, let the clay settle, and feel for symmetry with both hands.
Too much water makes the clay soupy, reducing its structural integrity. The wall will sag under its own weight, and cracks appear during drying. Keep a spray bottle handy and add water only when the surface feels dry to the touch.
Uneven pressure creates thin spots and bulges. Apply steady, incremental force from the base upward, using the fingertips to guide the shape. Sudden pushes cause the clay to split or flare.
Cutting the piece from the wheel before the walls have firmed up leads to distortion. Allow the pot to reach a leather-hard stage—firm enough to hold its shape but still pliable—before using the cutting wire.
Rushing the drying stage traps moisture inside. Cover the work with plastic for the first few hours, then let it dry gradually in a well-ventilated area. This prevents cracks that appear during firing.
- Center the lump before pulling up the walls
- Add water sparingly, spraying instead of pouring
- Use gentle, even pressure throughout the throw
- Wait for leather-hardness before trimming
How can proper centering prevent other wheel-throwing errors?
A well-centered lump creates a balanced axis, eliminating wobble and allowing even wall thickness. When the clay sits squarely on the wheel, subsequent shaping steps become smoother, and the risk of collapse drops dramatically.
Begin by placing the clay on the wheel head and pressing it gently toward the center with both palms. Keep the elbows low and the shoulders relaxed to maintain control.
Next, engage the wheel at a low speed and use the palms to coax the mass into a tight, concentric cone. Feel for a uniform resistance around the entire circumference; any high spots indicate an off-center mass.
If the clay resists, stop the wheel, re-wedge the piece to release trapped air, and repeat the centering motion. This extra step saves time later by preventing uneven walls and the need for heavy trimming.
A quick visual cue is the “halo” effect: when the clay spins, a perfectly centered piece will form a smooth, circular halo of dust and water. Any wobble shows up as a lopsided halo.
- Start at low speed to feel the clay’s movement
- Use both hands, palms facing inward, to guide the mass
- Pause frequently to assess symmetry
- Re-wedge if resistance persists
Why does water management matter for the first pot?
Water acts as a lubricant on the wheel surface and within the clay body; too little makes the clay stick, too much weakens it. Balanced moisture keeps the surface slick while preserving structural strength, which is essential for a stable first pot.
During the initial pull, a light mist keeps the fingers from dragging and helps the clay glide. A spray bottle provides fine control; a quick spray every few seconds is usually sufficient.
If the clay becomes overly wet, its particles lose cohesion. The walls will flatten, and the piece may collapse under its own weight. In such cases, gently pat the surface with a damp sponge to remove excess water, then allow a brief drying period before continuing.
Conversely, a dry surface creates friction, causing the potter to use excessive force. This often leads to uneven thickness and unintended bulges. Lightly wetting the fingertips restores smooth motion.
The local humidity in Porto can influence drying time. On damp days, reduce added water; on dry, sunny days, a few extra sprays may be needed to keep the clay pliable.
- Keep a spray bottle within arm’s reach
- Mist the surface, not the entire piece
- Pat excess moisture with a damp sponge
- Adjust frequency based on ambient humidity
What routine checks should be done before starting a wheel-throwing session?
A short pre-session checklist ensures the wheel, clay, and tools are ready, reducing the chance of interruptions that often cause beginners to develop bad habits.
First, verify the wheel speed range. Set a low to medium speed (around 80–120 RPM) for centering; increase only after the piece is stable. Test the foot pedal or hand control to confirm smooth acceleration.
Second, examine the clay body. It should be pliable, free of cracks, and properly wedged. Any visible air bubbles or hard spots signal inadequate preparation and should be re-wedged before loading.
Third, gather essential tools: a wooden rib, metal rib, trimming wire, sponge, and spray bottle. Place them within easy reach to avoid scrambling mid-throw.
Fourth, assess posture and workspace ergonomics. Adjust the stool height so elbows rest comfortably at waist level, and keep the wheel at a comfortable distance to maintain balance.
Finally, clear the surrounding area of unnecessary items. A tidy bench prevents accidental knocks that can disturb a delicate first pot.
- Set wheel speed to a comfortable low range
- Check clay for uniform consistency and no air pockets
- Have rib, wire, sponge, and spray bottle on hand
- Adjust stool and wheel distance for relaxed posture
- Keep the work surface clean and organized
Always wedge the clay thoroughly before centering; missed air pockets are a silent source of collapse later.
Frequently asked questions
Can I use any type of clay for my first wheel-throwing project?
A beginner can start with stoneware or earthenware that is labeled as “wheel-throwable.” These bodies have a balanced plasticity that holds shape without excessive cracking.
How long should I wait before trimming a newly thrown pot?
Trim only after the walls reach a leather-hard stage, typically 30 minutes to an hour depending on humidity. The piece should feel firm but still give slightly under gentle pressure.
Is it normal for the wheel to make noise while I’m working?
A low hum is expected; louder vibrations often indicate the wheel is set too fast or the bearing needs maintenance. Reducing speed and checking the wheel’s stability resolves most noise issues.